Based on your reading on the Bill of Materials, you now have a clear understanding of the meaning of the Bill of Materials.
We do understand that the B.O.M is a crucial feature, especially for those in the manufacturing industry. Hence, using Deskera Books+, you can now create the Bill of Materials (B.O.M) conveniently and fuss-free.
To create your first Bill of Materials on Deskera Books+, follow the steps as mentioned below:
- Click on the Product on the sidebar menu and select the "New Product" button.
- You can view three different tabs on this page if you select the type of product at the Bill of Materials.
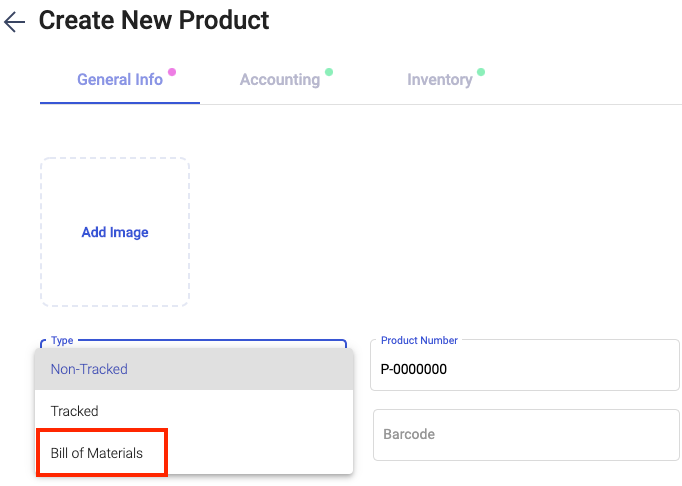
3. Fill in the information in the first tab, General Info:
- Upload the image of the B.O.M
- Select the type of product as Bill of Materials
- Indicate the Product number of the B.O.M
- The name of the material
- Barcode
- Description of the material
4. Next, fill in the information of the B.O.M under the Inventory section:
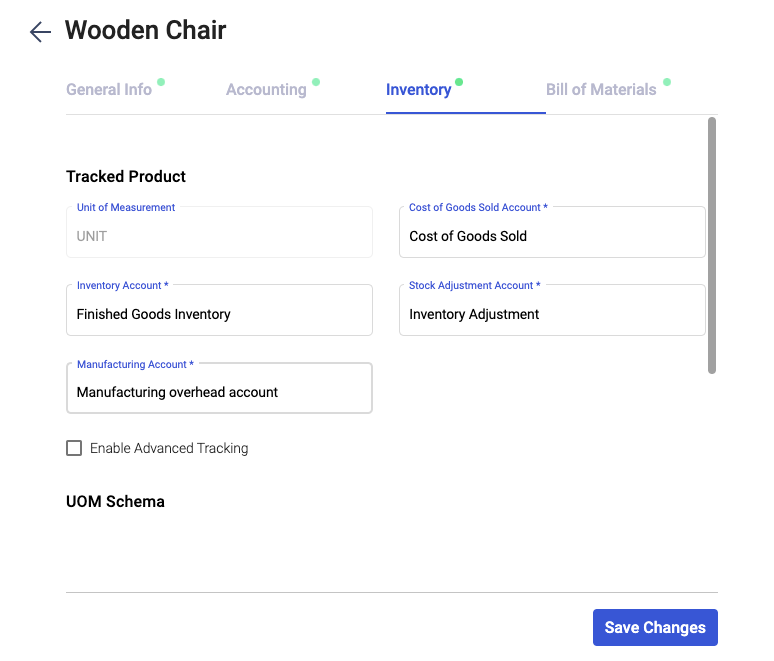
- Unit of measurement
- Cost of goods sold account
- Inventory account
- Stock adjustment account
- Manufacturing account
- Opening quantity and valuation
- Warehouse
5. In the Bill of Materials tab, enter the component product and additional cost associated with the Bill of Materials.
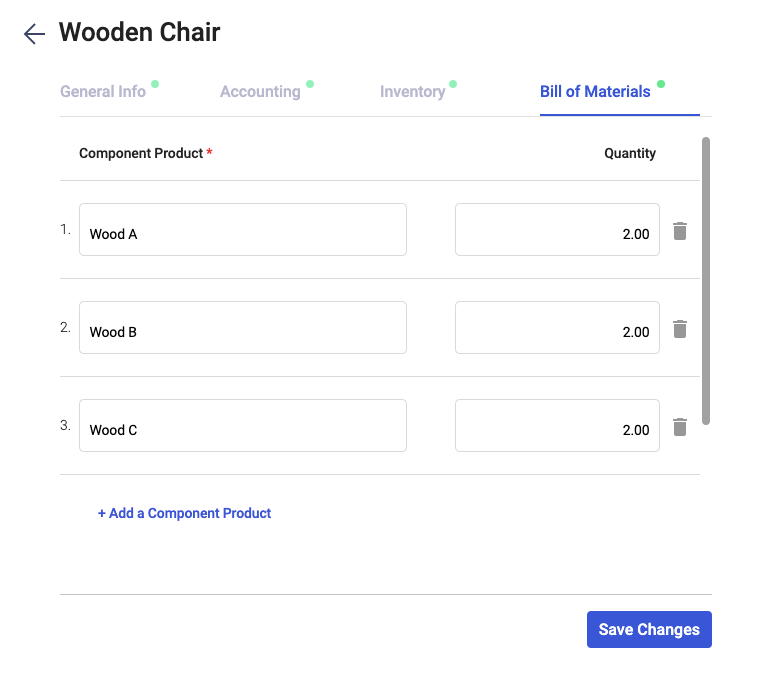
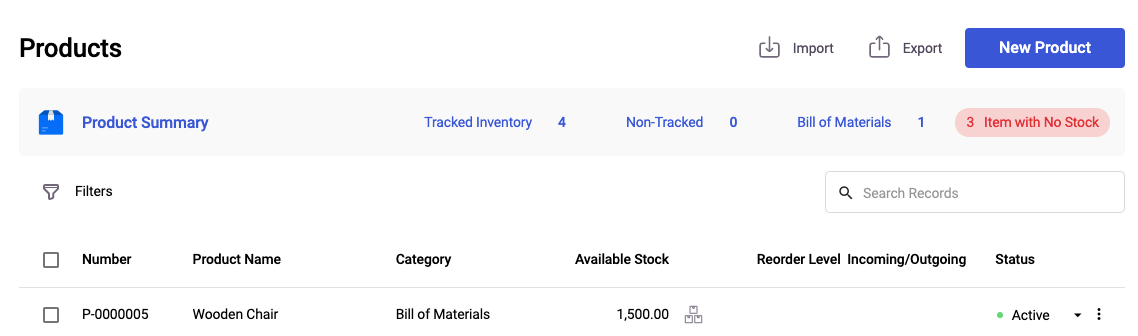
6. Once done, click on the Save button. You should be able to view the Bill of Materials in the Product Summary.

7. Click on the build assemble icon in the Product List.
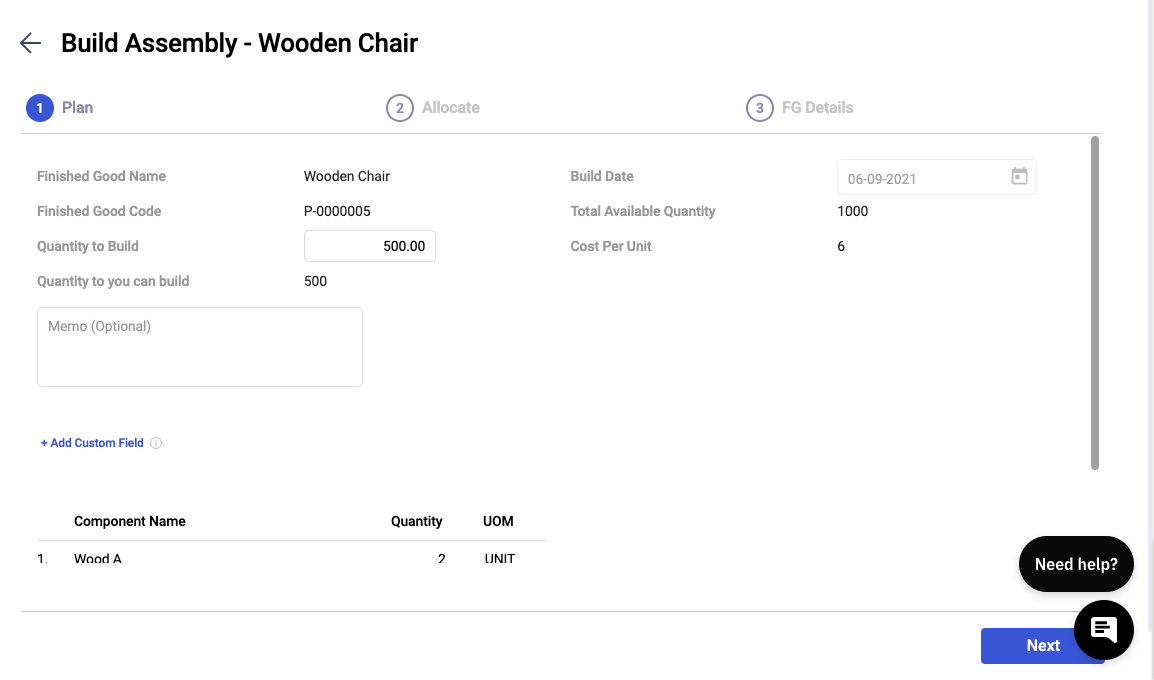
8. Next, enter the number of quantities to build. This depends on the remaining quantity of each raw material to build this finished good. The maximum quantity you can build is stated as per the screenshot above.
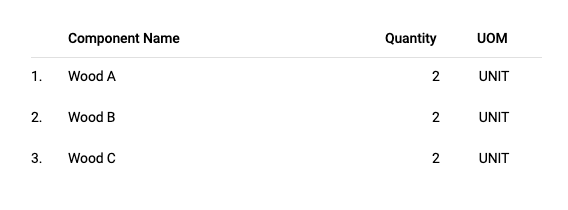
9. On this page, you should be able to view the raw material components as well. Once you have verified the information, click on the save button.

10. On the allocate stage, choose whether to pick all components from the same warehouse or allocate each component individually.
11. Please ensure that there is no shortfall in quantity. If not, you will not be able to proceed further.
12. Click on the Next button.
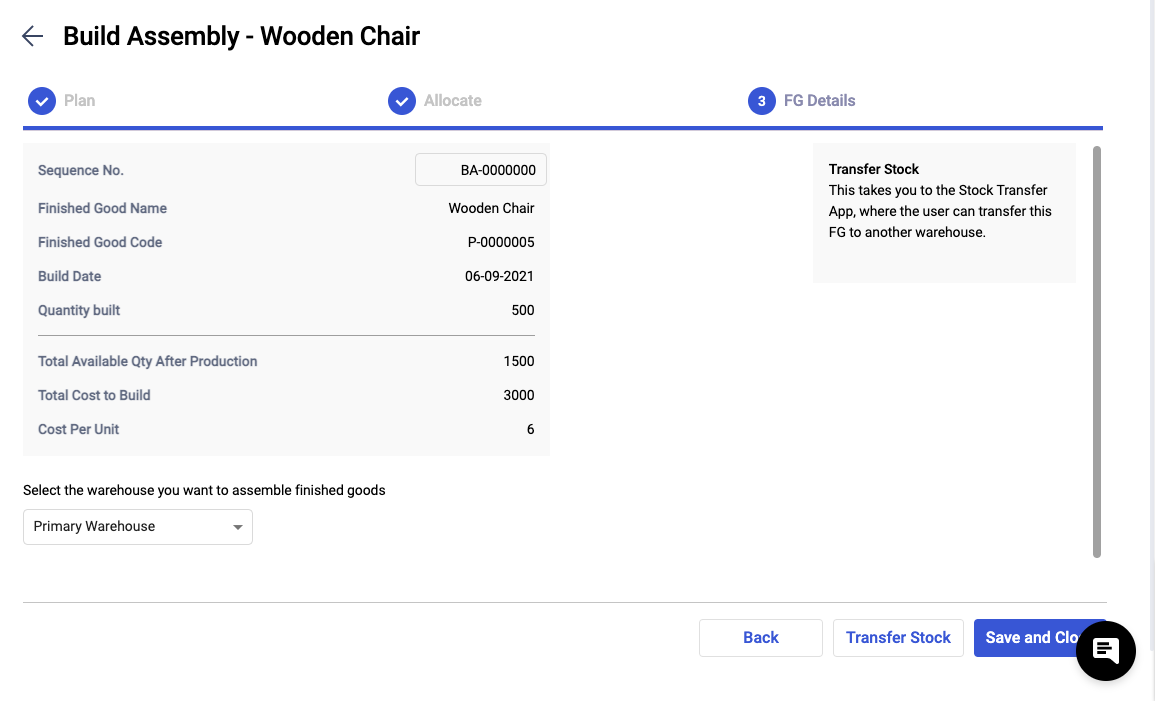
13. In the final stage, verify the details of the finished goods and select the warehouse you'd like to assemble your finished goods. Next, click the save and close button.
14. Finally, the total quantity of the finished goods and raw materials used will be adjusted accordingly.
Note: You can now assemble batch and serial products in the system.